Product Updates

Manually add alerts to cases

Transaction Monitoring clients can now manually add alerts to existing cases in Case Management to accommodate circumstances that may trigger an alert outside the Alloy system (such as an email or phone call). Previously, alerts were automatically triggered based off of workflow outcomes. Now, clients can consolidate the tracking and management of all types of alerts in a single place – irrespective of the originating source of the risk.

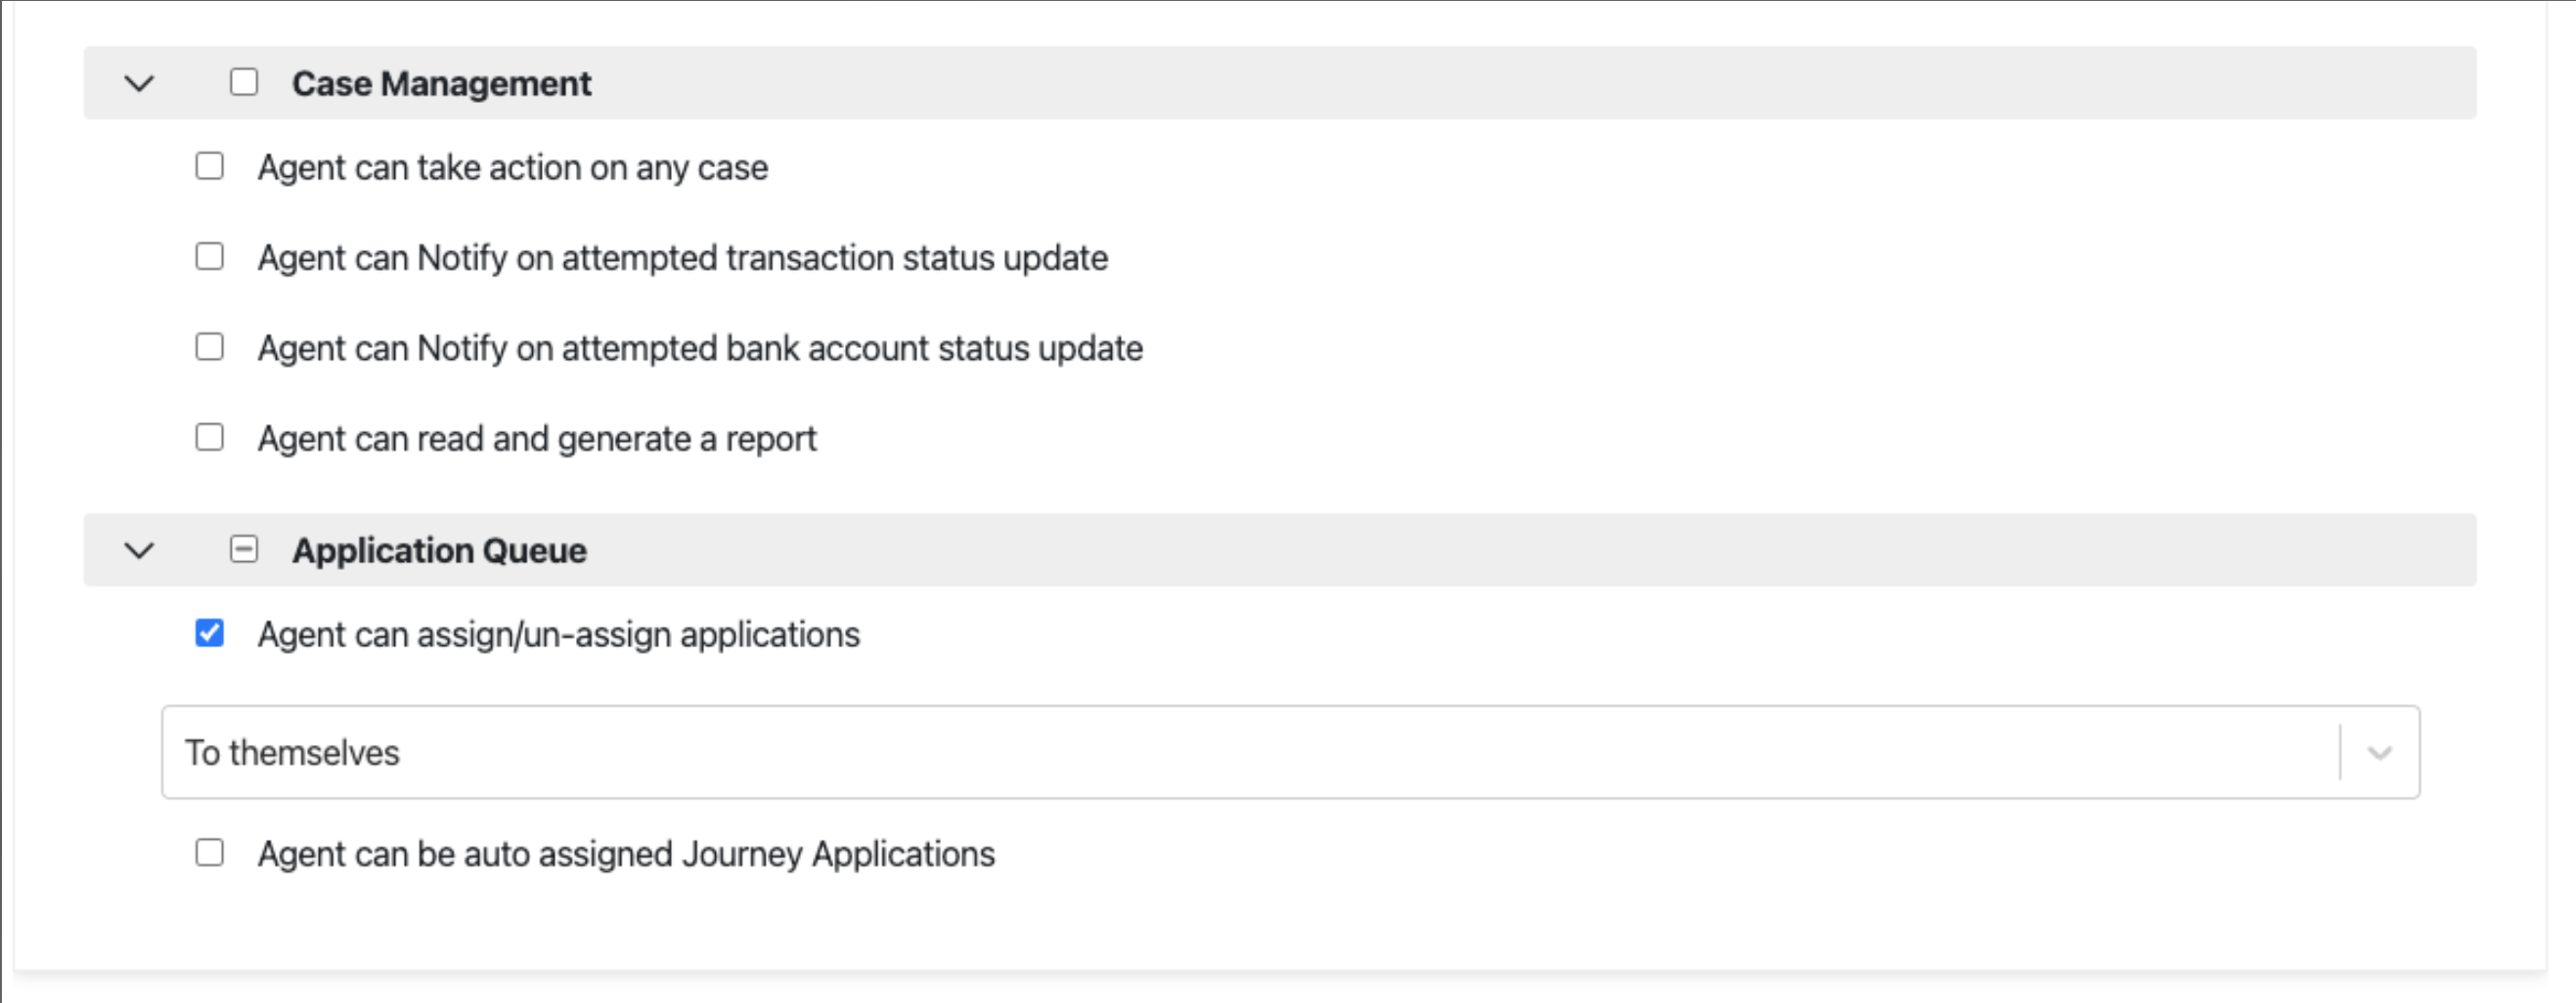
In order to start using this feature, the agent must have case editing permission and must be assigned the case they wish to add an alert to. On the Case details page, users will now be able to select “Add an Alert Manually” from the ‘Take Action’ menu on the top right. The user will then be prompted to select the alert they would like to associate to the case and add any notes they might have.


Once completed, the new alerts will appear in the ‘Alerts Triggered’ section with “(manual)” identifier.

Pass outcome reason tags between workflows in a Journey

Outcome Reason tags can now be passed from one workflow to another in a Journey. This enables Alloy to handle state management on the client’s behalf, even in a complex Journey. For example, if there are two instances where you might run document verification in a Journey, using an Outcome Reason tells Alloy whether document verification has already been called and prevents it from being triggered again, to ensure the customer is not asked to complete it twice.

When an Outcome Reason is passed into a downstream workflow, it is called an “imported” value in that workflow. This imported tag can be used in this subsequent workflow (of any type) in the same way as a normal tag. It can also be used in the new “Router”-type workflow, now available as part of this release, to determine what to do next in the Journey. The most common way of doing this in the new Router-type workflow would be to connect the imported value to different outcomes which represent the different paths your Journey could take from that point.

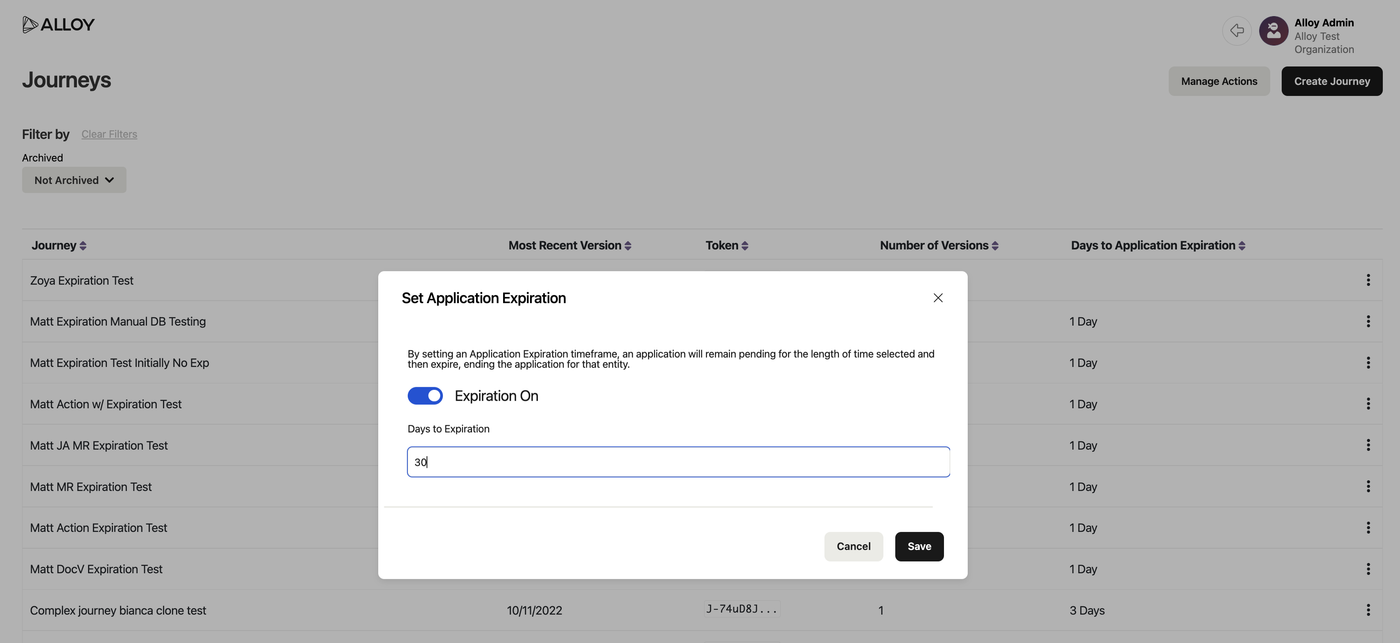
To pass an Outcome Reason tag from one workflow to another, clients using Journeys need to first make a tag into an Outcome Reason in the “Settings” section of the dashboard. In the workflow they wish to import into, they would then click “Import Outcome Reason” in the top right menu of the workflow builder, selecting the Outcome Reason they wish to import.

To learn more about Journeys, view our documentation. If you’d like to try Journeys or start passing Outcome Reasons in your Journey, reach out to your SA, CSM, or [email protected].

New SDK powers the future of custom step-up verification

Alloy clients can now use Alloy's future-proofed SDK to support step-up verification. Clients using the updated SDK will be able to leverage the services of new fraud vendors as quickly as their business requires. Clients only need to integrate the SDK once, and then can make changes to their plugins without having to touch the SDK initialization code. The new SDK also supports Document Verification for Multi-Entity Applications. Instructions for setting up the SDK and more on Multi-Entity Support can be found here.

View alert details in Case Management

Transaction Monitoring clients can now review the exact activity triggering alerts in Case Management to streamline the review and resolution of cases. Within the case details page, analysts can double click the Alerts tab to view detailed information about the rule and the specific event(s) (e.g. transactions or account level activity) setting off the alert in a pop up.

Depending on the rules, case alert details may include:

  • Date of event

  • Event/transaction description

  • Transaction type

  • Transaction amount

  • Email address, phone number

  • Account balance


Clients will be able to view alert details for the following types of rules:

  • Transaction History
    • Monetary

    • Non-monetary

    • Counterparty

  • Account History
    • PII snapshots

    • Balances.

Test and understand the impact of your transaction monitoring workflows

Transaction Monitoring clients can now view the percentile distribution of impacted entities to help determine the appropriate decisioning thresholds to test.

Previously, clients were able to test scenarios by changing rule thresholds and seeing the total number of impacted entities as well as viewing a list of sample entities. By understanding the percentile spread across their customer base, clients can now better optimize their rules by making more informed decisions about setting and adjusting thresholds.

To try this feature, click on the “Show Thresholds” button for the appropriate aggregation to see the percentiles. Once the aggregation is finalized, click the "Test" button on the bottom of the window to see a sample of the impacted Entities with the updated logic (the full list can also be downloaded).

Ten new document types added to Alloy's Document Verification SDK

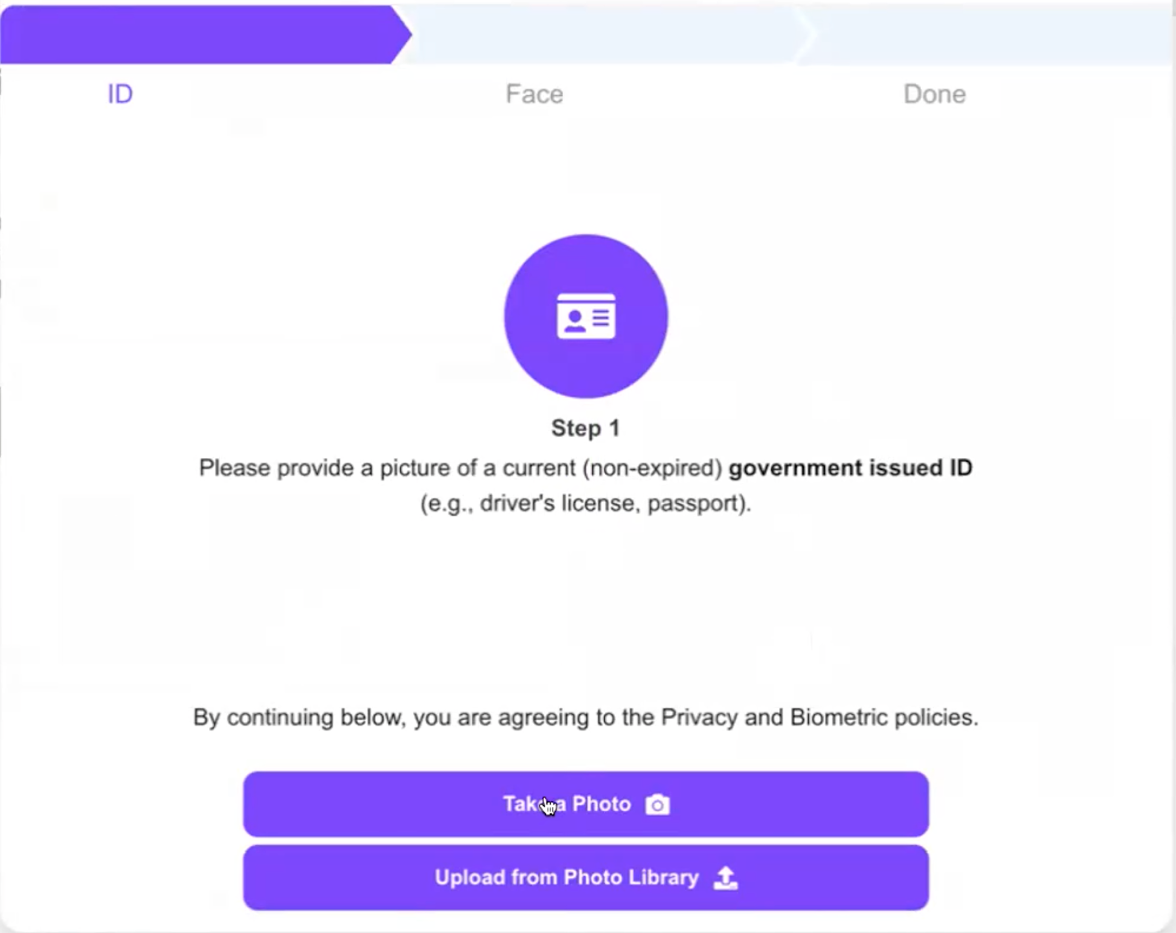
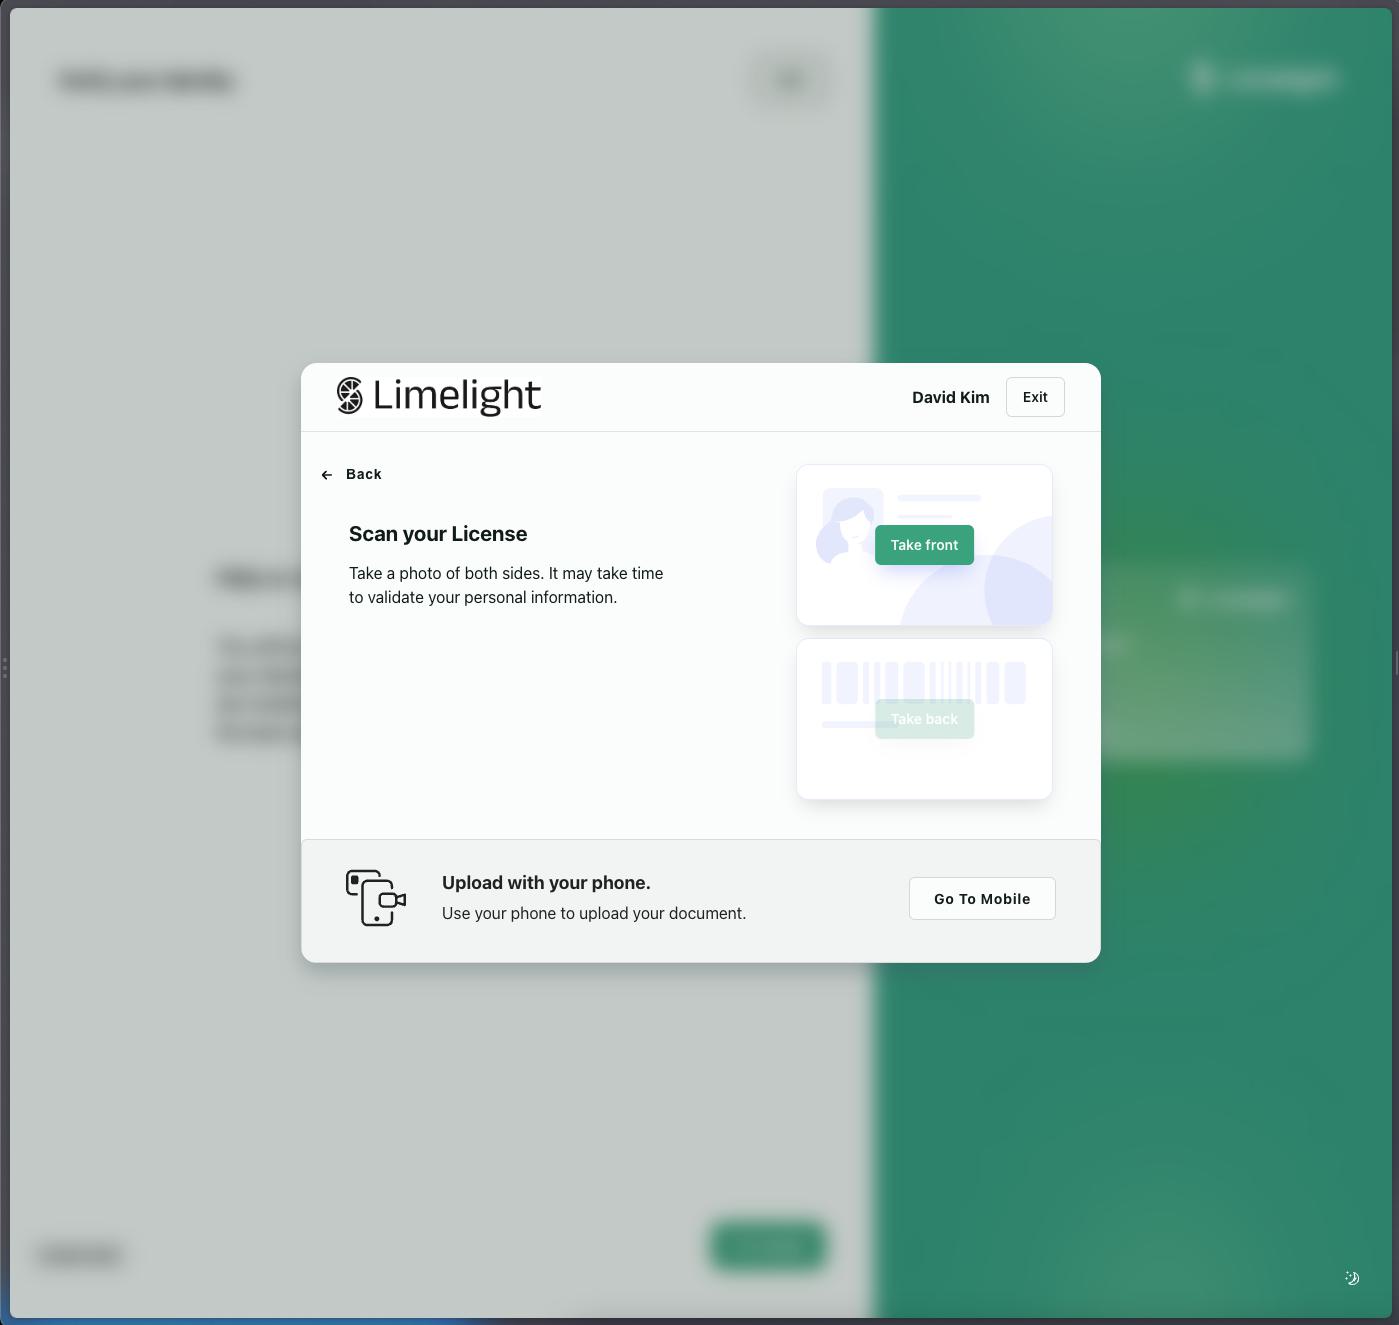
Alloy's Document Verification software development kit (SDK) has expanded to include ten new document types. A variety of income document verifications (see below) are now available to better support credit underwriting and Canadian dual authentication. Additionally, provincial and indigenous identity documents are now supported for onboarding Canadian applicants. Clients currently using the web SDK don't need to make any changes or download any new files—they can simply start using the new functionality.

The Following documents are now fully supported within Alloy's Document Verification SDK:

Identity documents:

  • License (USA, UK and Canada)

  • Passport

  • Canada Provincial ID

  • Canada Indigenous Card

Proof of income/tax documents:

  • Paystub

  • Bank Statement

  • W-2

  • 1099

  • 1120

  • 1065

  • T1 (Canadian tax doc)

  • T4 (Canadian tax doc)

To enable additional document types within the Alloy SDK, follow the steps below:

  1. Set up document verification workflow(s) with relevant services

  2. In your Journey, add a “DocV” node for each document type you want to collect. For example, a node for license OR passport and then a second node for paystub OR bank statement.

  3. Download the Alloy SDK by running yarn add @alloyidentity/web-sdk. Further instructions are available for web, iOS, and Android.

  4. In the initialization parameters, each journey node requires its own nested array. For example, if you wanted to collect a license OR passport AND a bank statement OR paystub, you would write: documents: [['license','passport'],['bank_statement','paystub']].

Once configured, your users can choose document types from the options you’ve selected, whether on web, iOS, or Android.


To learn more about the Alloy Document Verification SDK, view our documentation. If you'd like to add Alloy’s Document Verification SDK to your Alloy workflow, reach out to your CSM or [email protected] to learn more.

More flexible aggregations now available for transaction monitoring rules

Transaction Monitoring clients can now build rules on transaction history and PII changes using more granular time range options including minutes and hours.

Furthermore, clients can also run aggregations at the transacting account level for entities with multiple accounts. Previously, aggregations could only be run on the entity as a whole. This change also extends to aggregations for counterparties; this means clients can create rules aggregating counterparty activity relating to a specific account.

These changes enable clients to configure more custom rules in order to better detect suspicious activity and reduce potential false positives for teams to review.

Access help content and submit a support ticket directly from the dashboard

A new "Contact Support" widget has been added to the lower left corner of the Alloy dashboard, giving all clients the option to access help articles and submit a support ticket directly from the dashboard.

Clicking on the widget will give users the option to ask a question and see relevant articles. If they need additional help, they can submit a ticket to the Alloy support team from within the widget.

Back